Price tags are designed for A6 format, but can be scaled to A5 or A6 in the print settings, these can also be printed on your receipt printer.
Product labels require that you have a Label Printer, e.g. a Brother QL700.
Go to Inventory
Find the product you want to print a price tag or label of
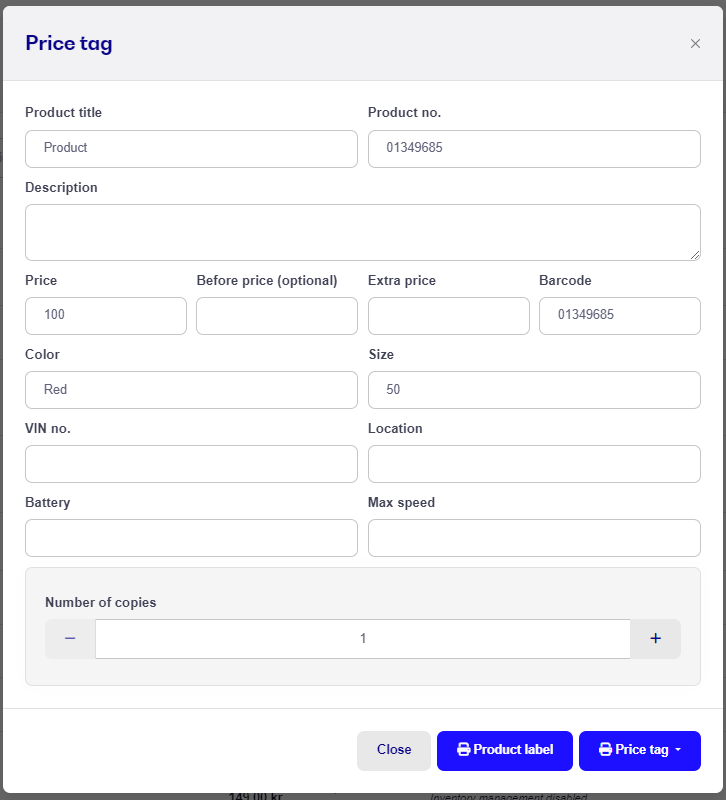
Click on the print button to the right side of the product
Now you can add some more info to the price tag if you want, e.g. if it is on sale or you want to write some more details about the product
Now click Price Tag or Product Label
1. Go to Inventory
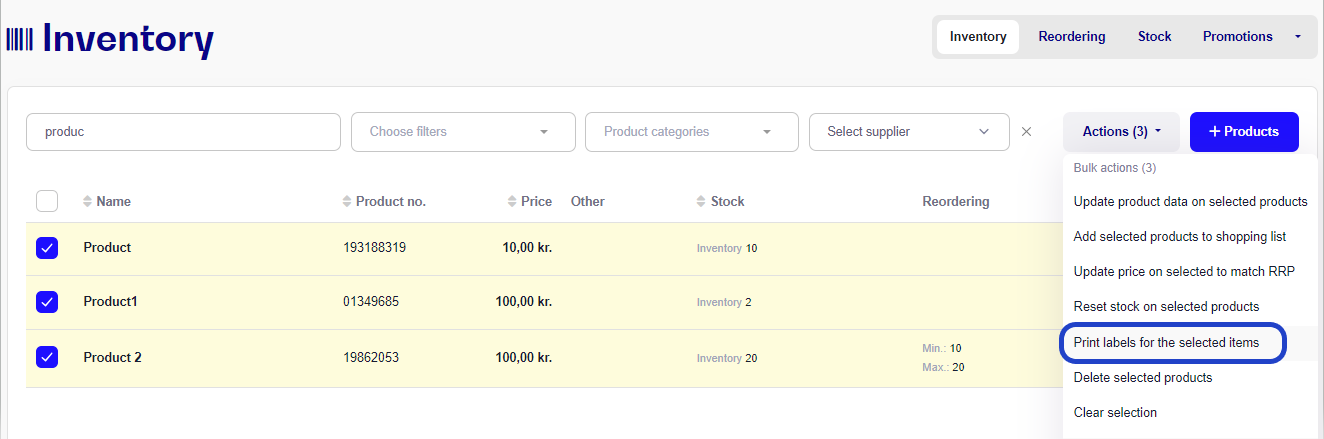
2. Check the box to the left of the product(s) you wish to print labels for
3. Press Actions and Print selected and a new window will open
4. Here you can either manually edit the number of labels you wish to print for each product or use + and - to do so.
You can also scan your products and add them to the print list. If you scan the same product multiple times, it will add extras for that product.
6. When you are ready just press Print labels for the selected items
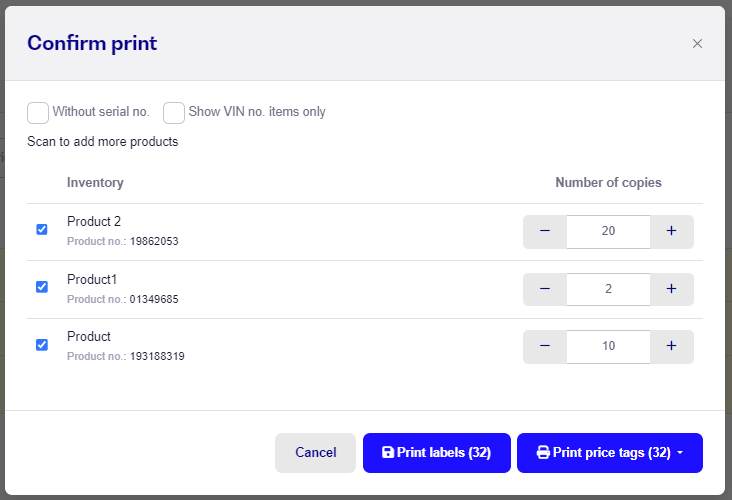
If you wish to delete any products on the print list, just uncheck the box.
Note: Printing labels and price tags may look strange at first, but this is mostly due to the printer settings. Make sure that Margins and Headers are disabled and scale is set to match your paper.
When printing a Label it is important that you have set up your label printer according to the label paper size. Setting up your label printer is model specific and usually a guide can be found in the manual.
