You can create different Tags, which can be used to categories different tickets, so the process of creating a ticket gets quicker and easier.
How to create a Tag:
Click on Settings
Then you click on Tickets
At the end, you scroll down to Tags
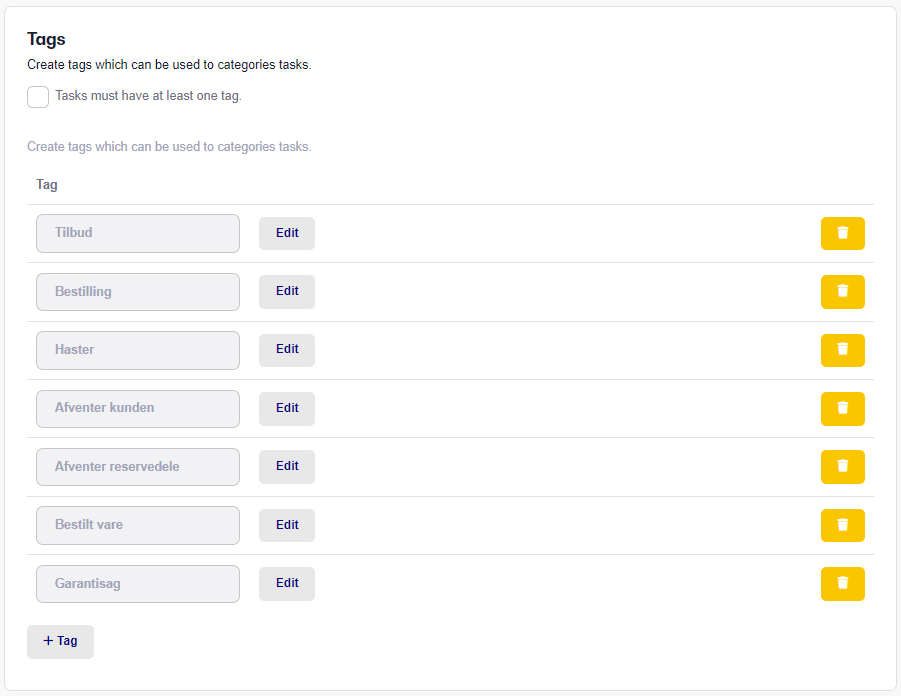
Here you can see the various tags you have created. To create a Tag, click on +Tag and then you can name the Tag, choose a Color for the Tag and press Save.

Press Edit if you wish to change it and press the trashcan to Delete it.
When you have created the tags you want, you press Save.
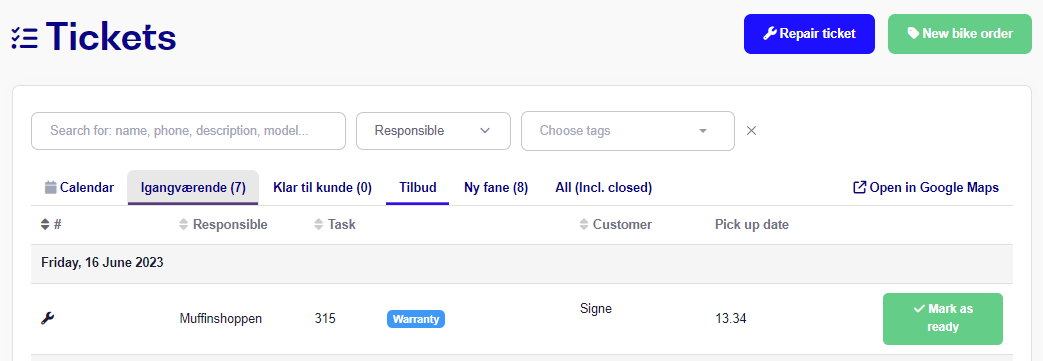
Here is an example of how such a Tag will look in the Workshop menu, is illustrated below, where I have created a Tag named Warranty and I chose the color blue.