Before you can set up the cash drawer correctly in our system, it's important that you've configured it properly at the printer level.
First, make sure it's connected to the RJ11/12 port on your receipt printer, and that the printer supports this type of cash drawer with printer opening.
Depending on the type and model of your receipt printer, the setting to activate this feature is usually found in the device's printer properties. Look for a setting called either cash or drawer.
If you're using our receipt printer, you can find the full guide to activate cash drawer setting here.
Once you've made sure the setting is activated and you can confirm it by printing a receipt/test page on your printer and it opens the drawer every time, you'll know it's set up right.
Next, in the POS system, go to Settings and select the Print tab.
At the bottom of the printer settings, click Show more print options.
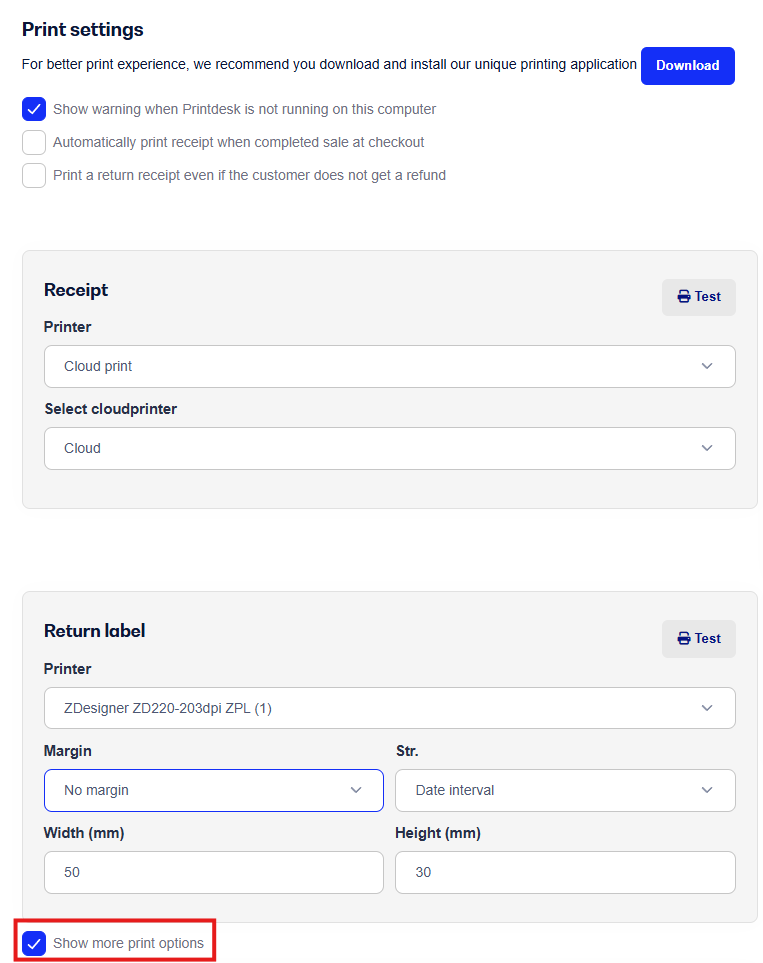
Scroll down to where Cash Drawer appears and pick your connected receipt printer.
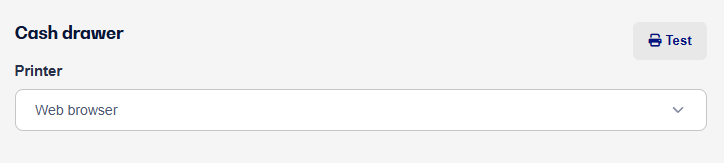
Once your receipt printer is selected, just hit Test and the printer should simply print out about 1 cm of paper while it opens the cash drawer.
Now your receipt printer and cash drawer are ready to go.
You'll now find the Open cash drawer button under End of day in POS, so you can open the drawer when you need to count cash for the daily report.
You'll also notice that when you make a cash sale, the drawer will open no matter if you print a receipt or not.
