If you've got a lot of different product groups, it might be a good idea to divide them into item categories.
Item categories can make searching for items easier, give you a better overview at checkout, and can be used for creating campaigns on specific item categories.
If you want to create or delete item categories, go to Items, click the arrow in the top right corner and select Item categories.
Click on "+Create category" and the following image will show up.
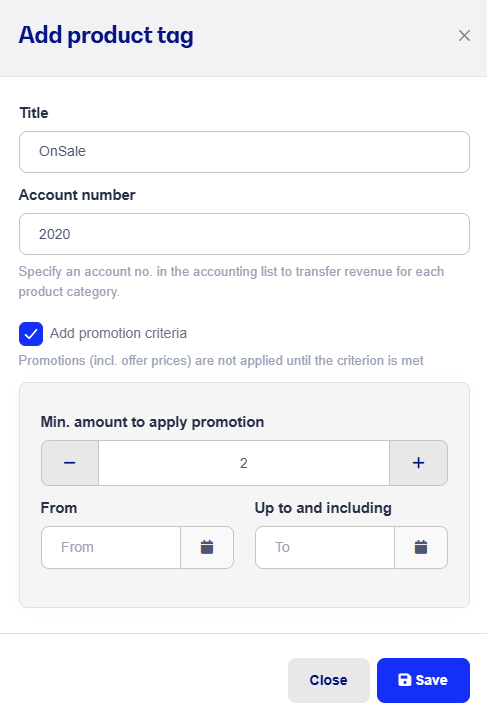
Enter the Title for your item category.
If you're integrated with e-conomic you can also define which account you want the revenue for your item category posted to.
If you tick Add campaign criteria, that number will be the requirement to activate a special price, which you can set directly on the product—and you can also add a Start/end date. This will override any existing campaigns.
You can read more about how to edit your products and add a special price here.
You can also add product categories directly when creating your products or while editing them. We've described that in more detail in the following guide, and we also explain how you can update a bunch of existing products at once. You’ll find the guide here.
If you no longer need a product category, you can delete it again. It’s super simple—just click the trash can icon next to the category and confirm the deletion.
Heads up! If you’ve made sales on a product group and set up syncing to e-conomic, we don’t recommend deleting the product category until the day with sales on the product is booked.
Søgeord: Produktkategori - Kategori
