Teamviewer is our remote support tool, which we use to access your Mac for things like fixing problems with printers, terminals, or other stuff.
TeamViewer download starts automatically, if not then click 'Try again'

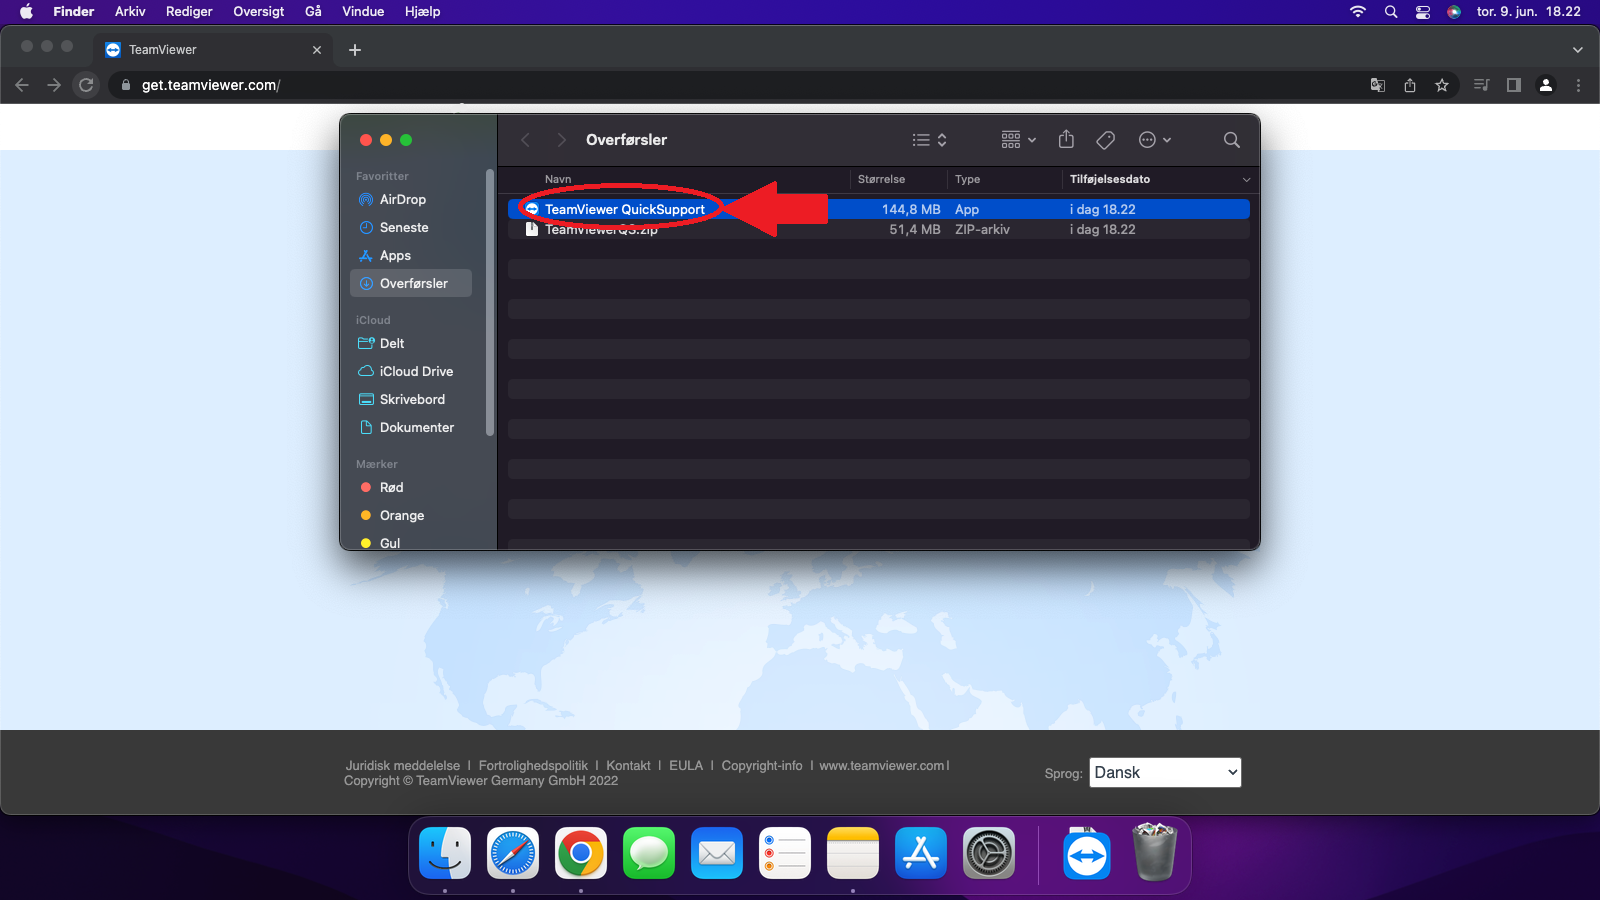
Open the file on your Mac
Double-click the file in the folder called 'TeamviewerQS'
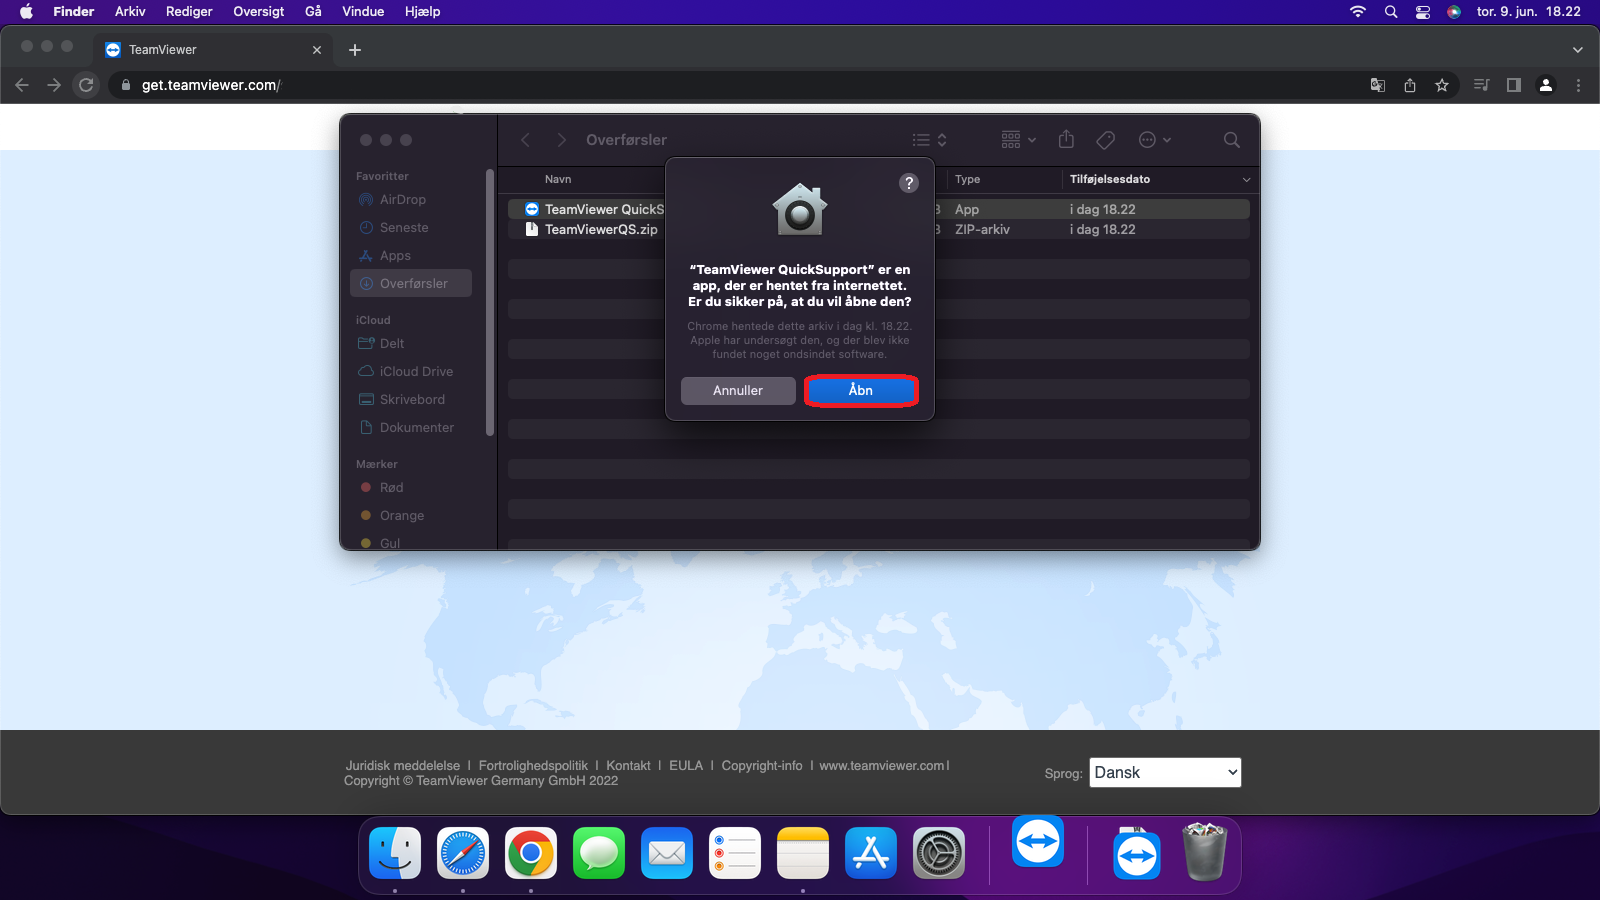
If your Mac asks if you want to open the app, you just need to click 'Open'
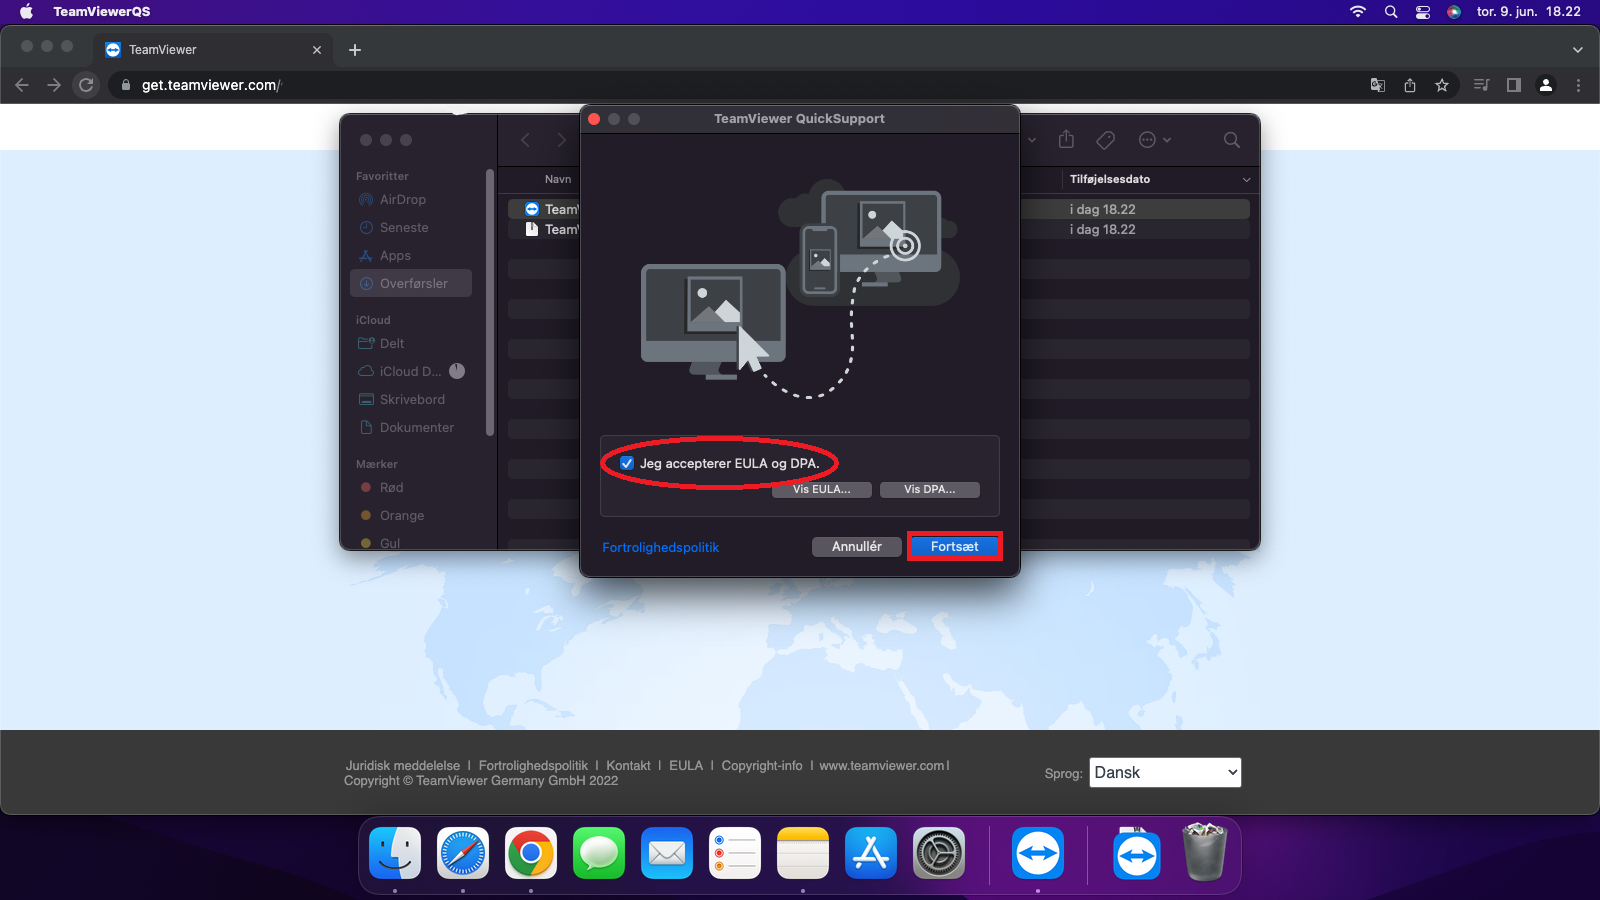
The first time you open TeamViewer, you'll need to accept their EULA to use it.
When the TeamViewer window pops up, you need to allow the system permissions it asks for.
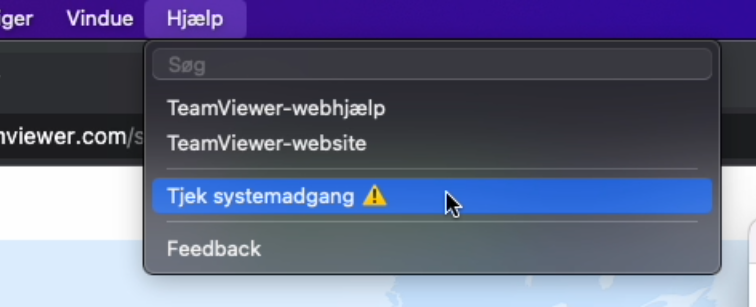
If you don't see an extra window asking for permissions, click 'Help' at the top of your Mac screen and choose Check system access
Next, you'll see the window where you need to make sure all 3 system accesses are marked with a green circle before TeamViewer works right.

Click request access on the first button, then your Mac settings will open, and there you need to click on the padlock at the bottom left of the window and type your Mac password to unlock the settings.
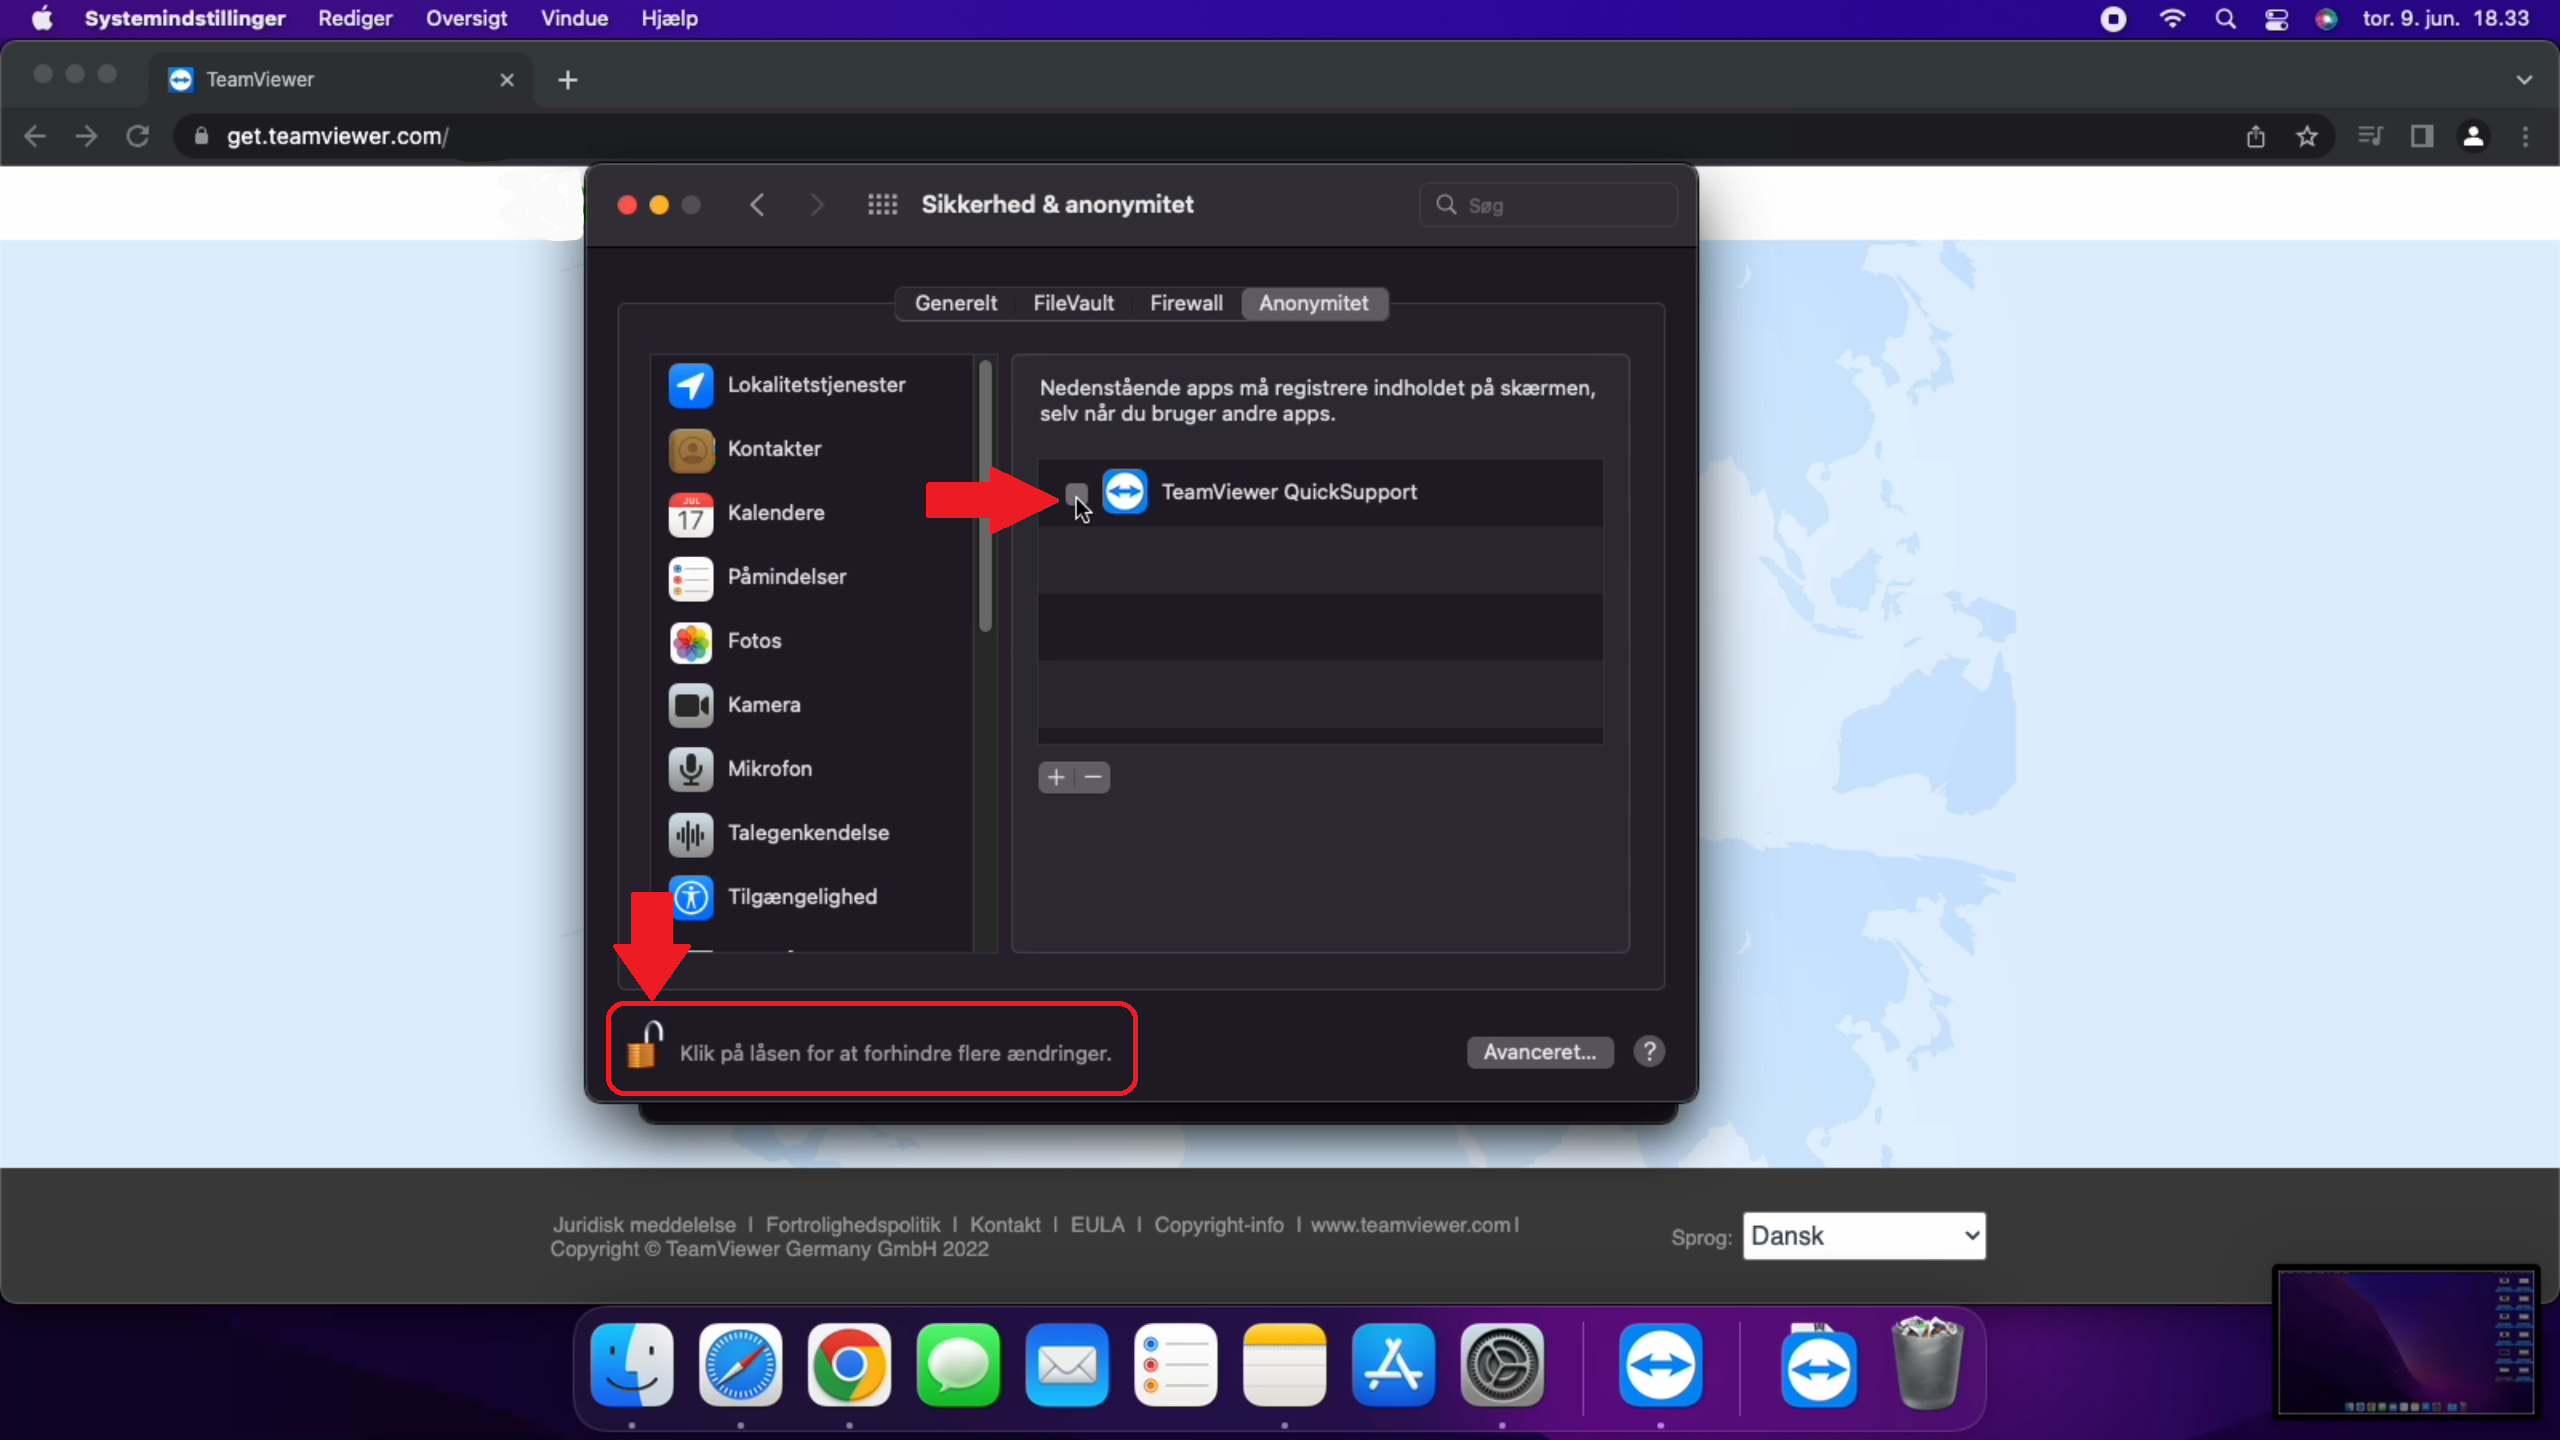
After that you can choose and check TeamViewer on the list to the right, so it's active and has the needed permission.
Do this again for both Accessibility and Full Disk Access.
If you get to a setting where TeamViewer isn't on the list, just click the little '+' button and find the TeamViewer app in your downloads to add it to the list.
Once you've done this for all 3 permissions, the dots should be green, meaning TeamViewer has all the permissions it needs to work.
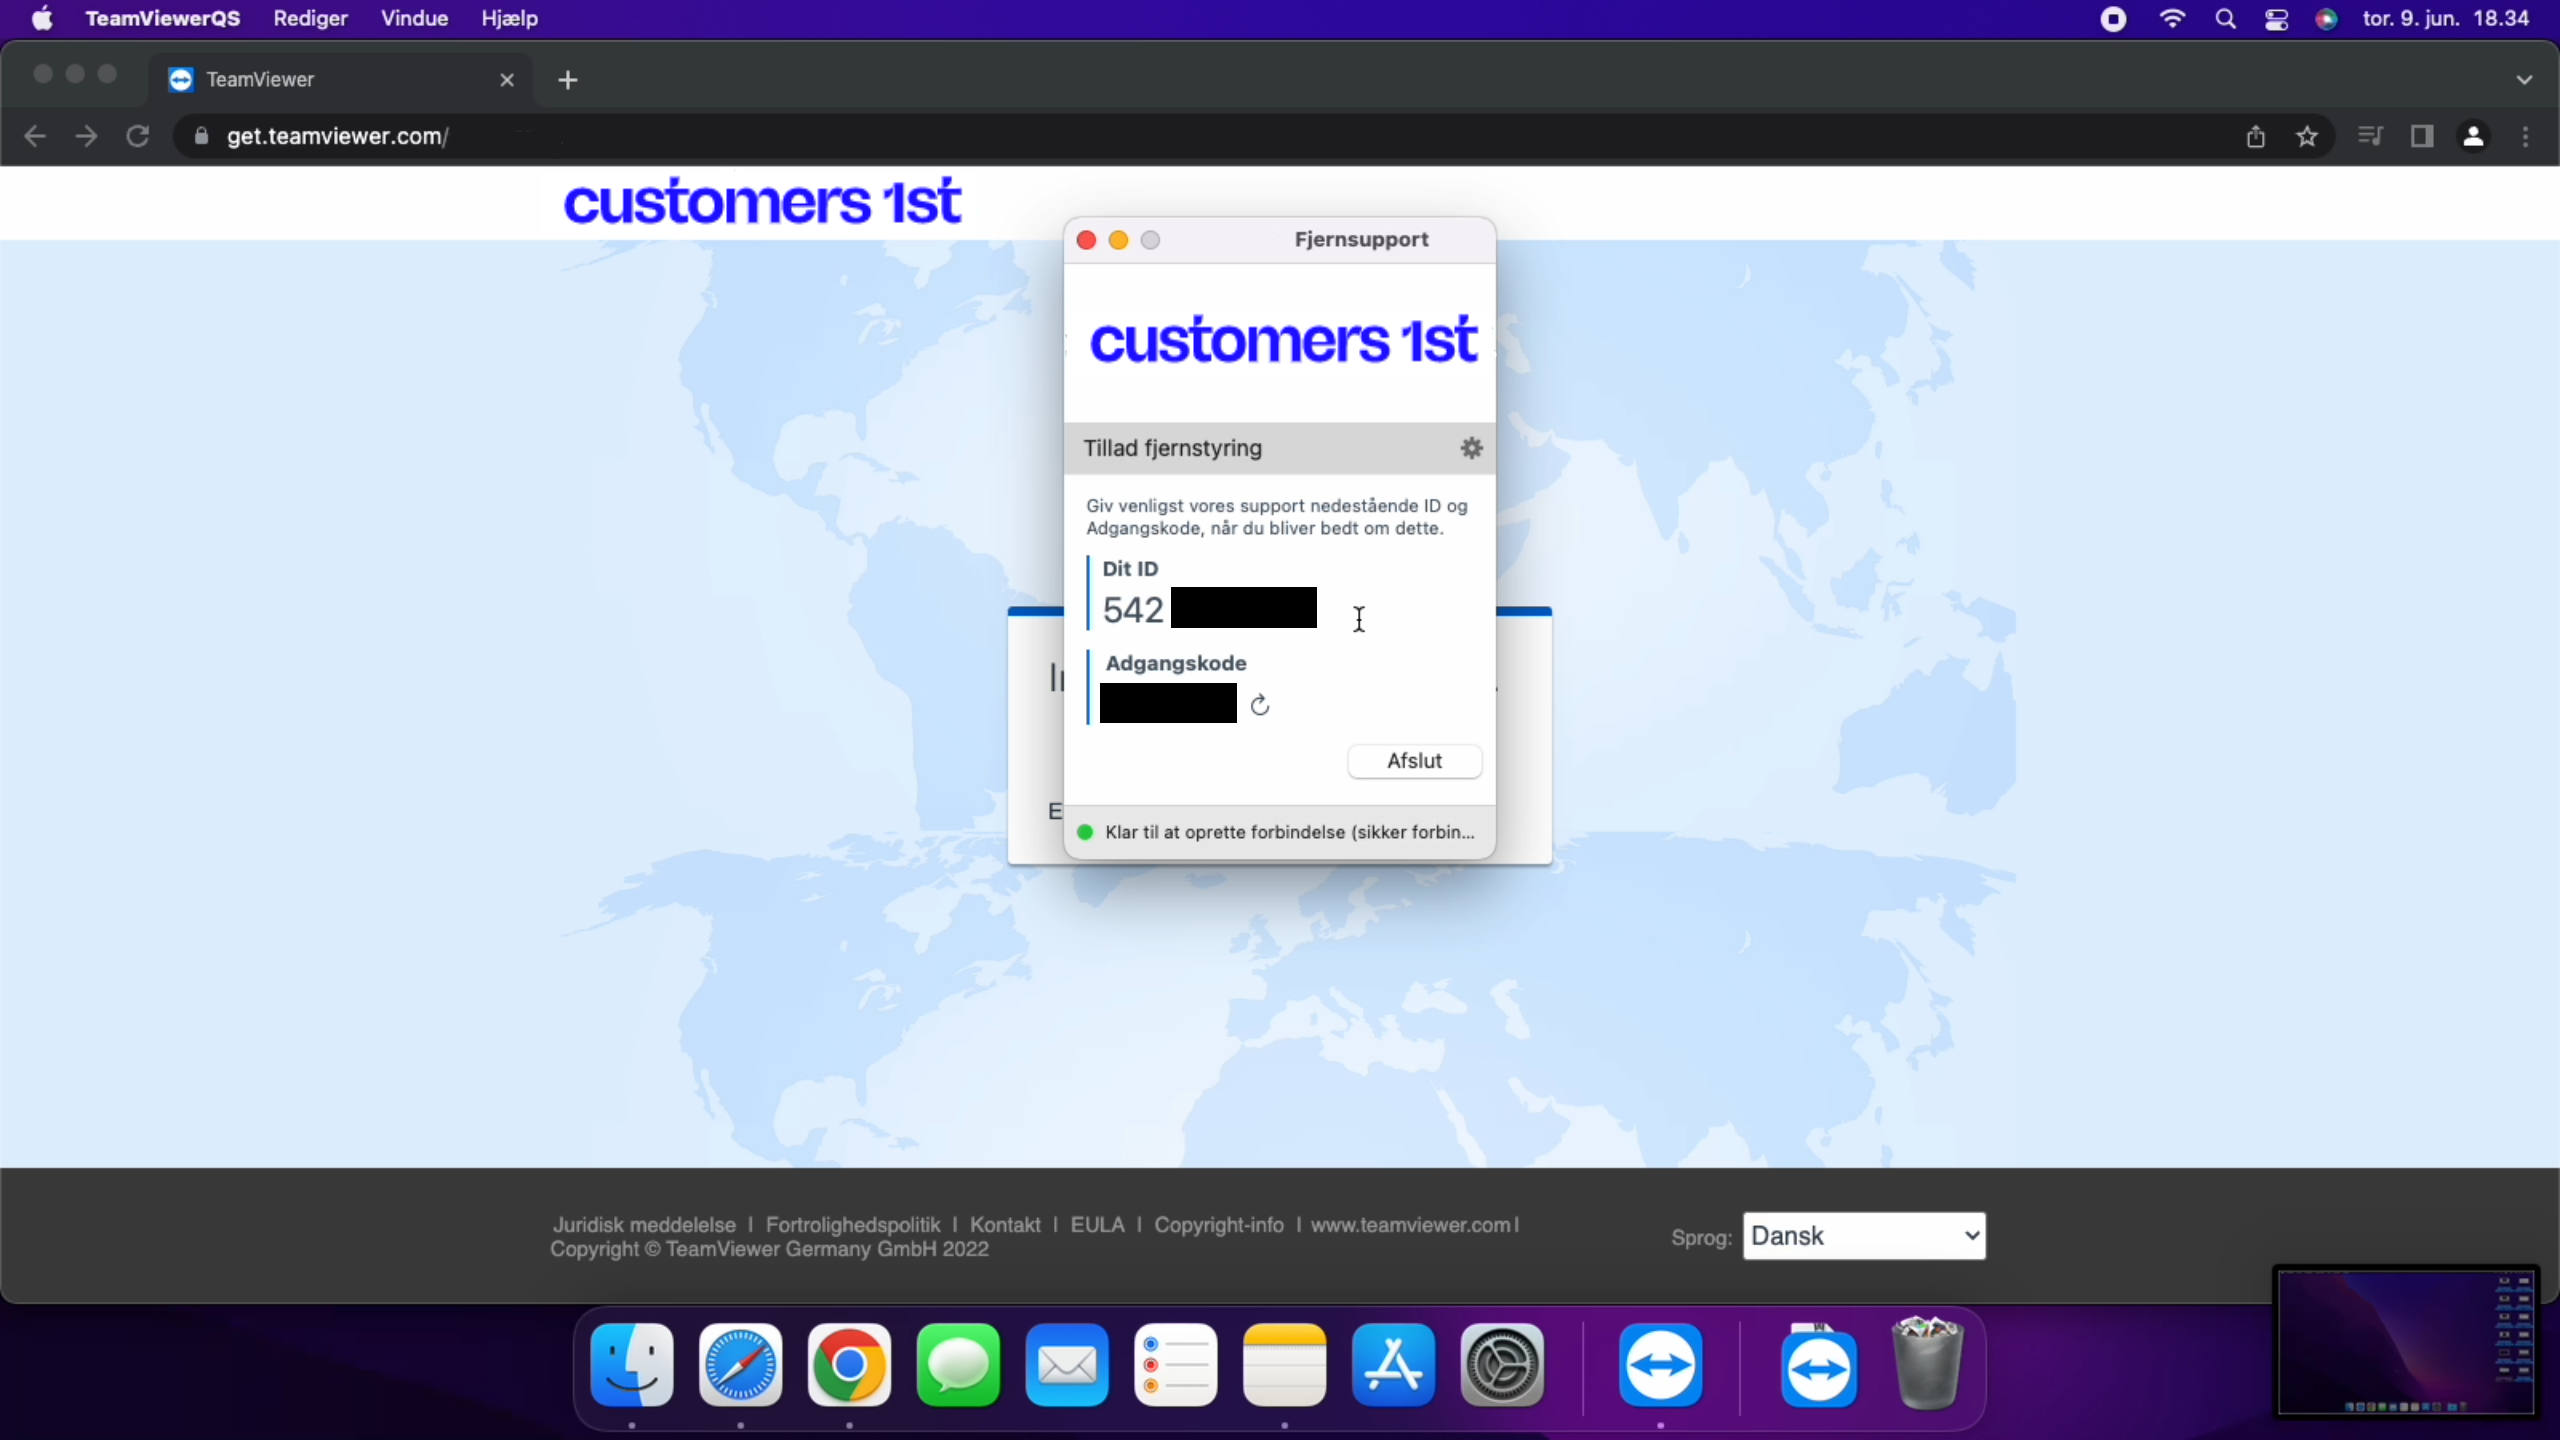
Now you can close the window and TeamViewer is ready to use.
From here, you just need to provide your ID and password to the support person who needs access to your Mac. Only share this info when you're asked for it.
Søgeord: teamviewer fjernsupport remote mac opsæt OSX 