When you make a workshop task or a sale, you can assign it some different standard task templates. This means that you can enter the different tasks you want to do on that specific ticket faster and easier, instead of manually describing the task every time you make a new ticket.
How to change templates to tickets:
Click on Settings in the bottom left corner
Click on Tickets
Scroll down to Task Templates
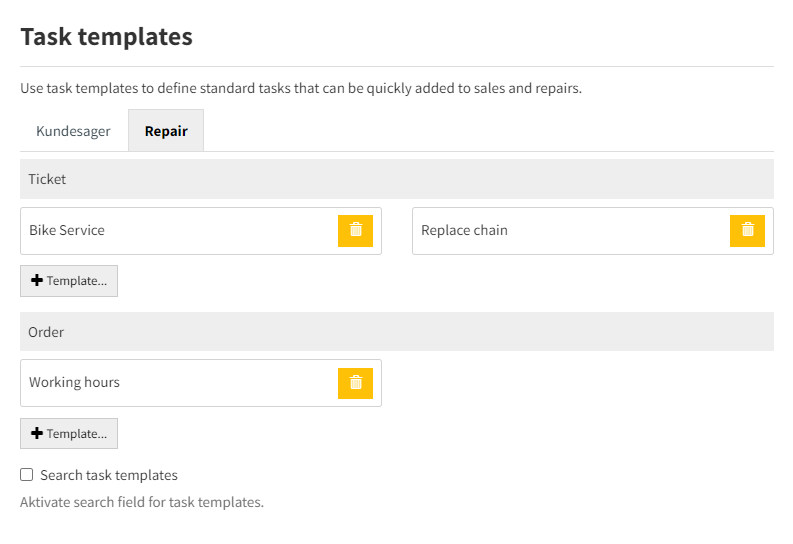
Here you have an overview of different standard tasks, that can be added to your workshop task or sale. You can add a new task template by pressing +Template...
You can also edit already added templates by simply pressing on the task template and renaming it.
If you want to delete a template, simply press the yellow trashcan.
If you click on the square in the lower left corner next to Search task templates, you will be able to use the search function, when you create a new workshop task or sale, so you easily can search for a task template if you have created many different ones.
When you create or edit a template, you will be redirected to the following window:

At the top you describe your Template, then you can choose which task relation the task has, whether it is a workhop task or a sale.
Then you can choose Category, whether you just want to use the existing categories or whether you want to create a brand new one and give it a name.
By pressing +Add product, you can add some specific products/items that you can set as default to the material list, which is to be used when making that particular task.
For example, you can call the task template "change of bicycle tires" and then add tires and hose to the product line. So every time you add the "change of bicycle tires" task template to a workshop task, tires and hose will be added automatically so you don't have to manually enter it every time.
When everything is finally in place, click Save and then it will look something like this, when you create a New ticket:
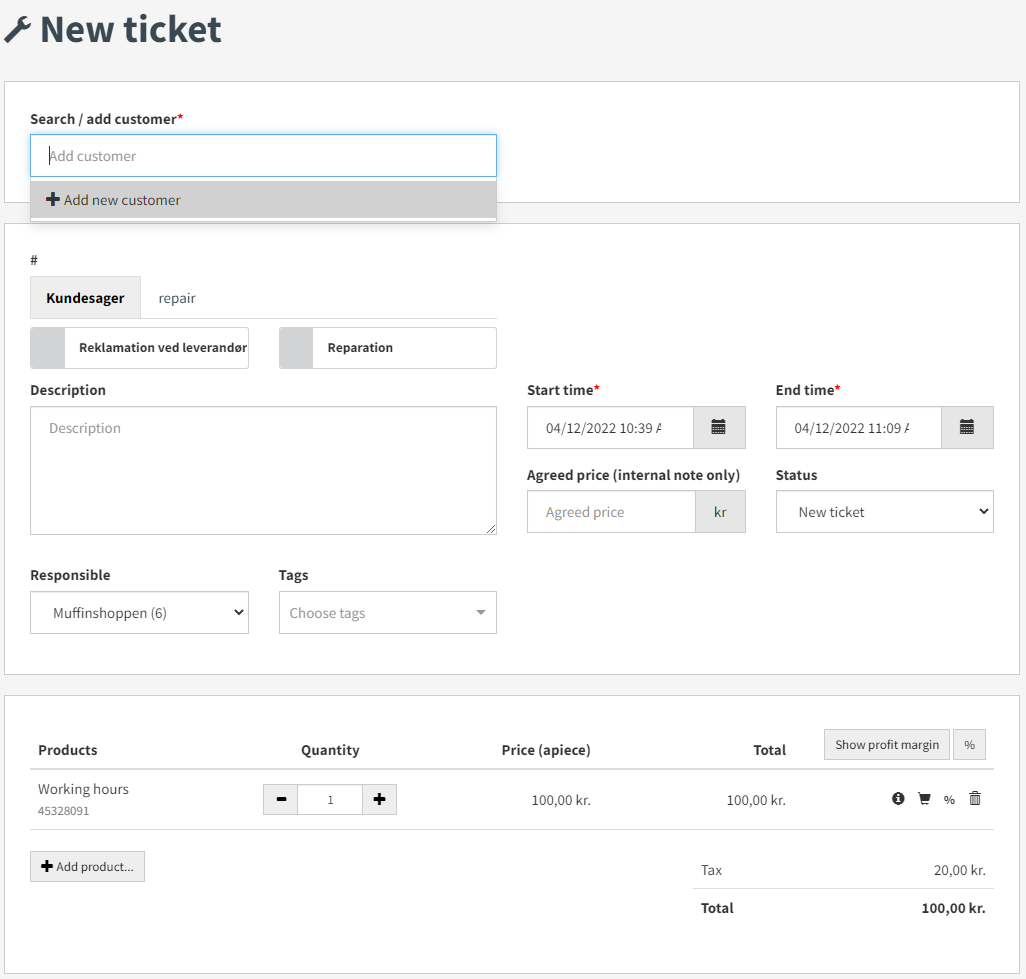
For more information on how to create a ticket, click here.
