Our standard exchange label can be used to return one or more items without a receipt. This is especially useful if the item sold is intended as a gift.
A barcode is printed on the exchange label that links the item with the sale. So if you want to exchange an item with an attached exchange label, you just scan the barcode, and you’ll be taken straight to the sale where the item was originally sold.
After that, you can easily either return the specific item or all items from that sale, and you can return the item, swap it for another, or issue a store credit straight from the register.
By default, the system is set to keep exchange labels valid for 14 days from the sale date, but for example during Christmas shopping or similar, it might make sense to set a fixed exchange date instead of a 14-day period.
If you go to Settings - Register you can scroll down to the section "Exchange labels".
Here are your options:

Number of days added after sale date
The default in our system is 14 days. If the other fields aren’t filled out, the customer will have 14 days to exchange their item after every sale.
Fixed exchange date set on exchange stickers
Here you can pick which fixed date you want on the exchange stickers. For example, during Christmas shopping, you might want to give a longer deadline for exchanging gifts.
But the customer will always get at least the number of days set in the first setting. In the example above, customers who buy something 10 days before 14.1.2024 will get 14 days to exchange instead.
Fixed exchange date is valid from
Here you can set when the rule about the fixed exchange date should take effect, so you have time to prepare way before the extended exchange period kicks in.
NOTE! No matter what date you choose, it’ll be possible to exchange after the date is passed.
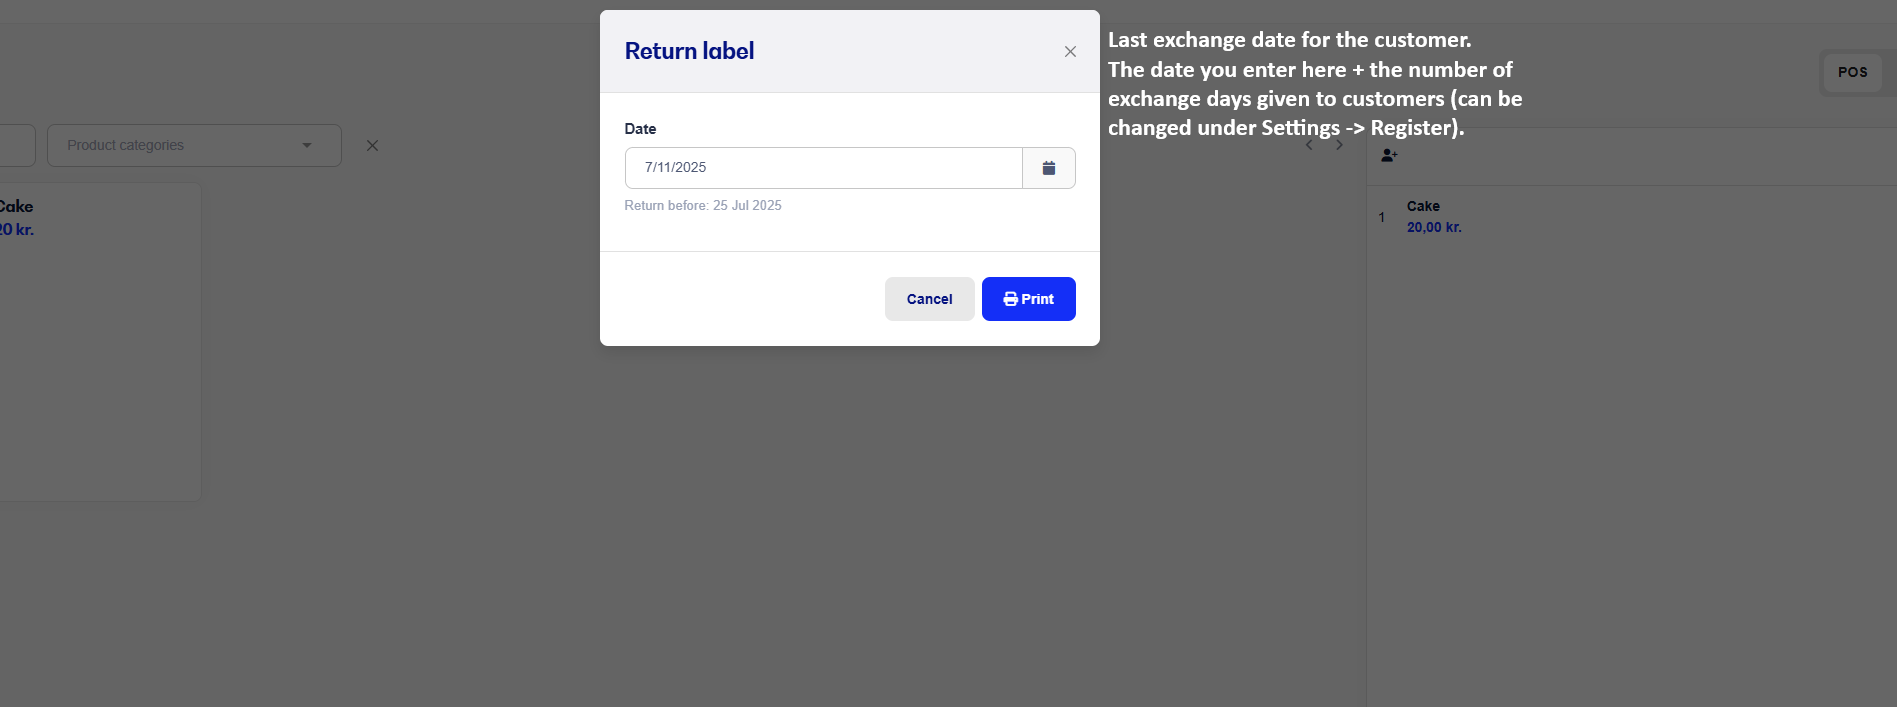
When you’ve added an item to the cart at checkout, you can print an exchange label for it by clicking the print icon next to the item line.
Next, pick the date for the exchange label, the amount you want to print, and hit Print.

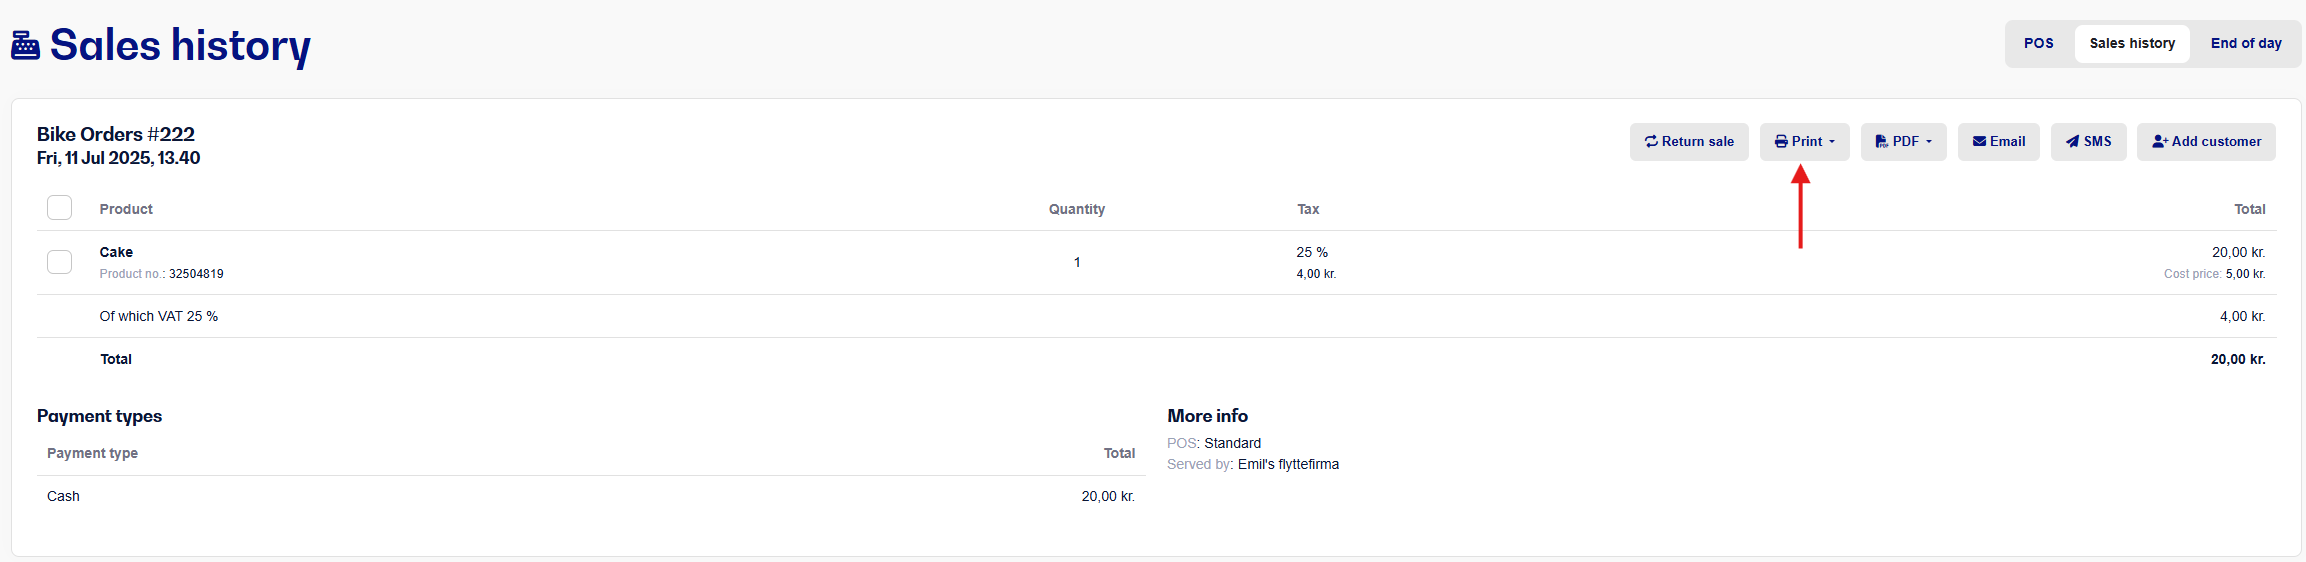
Find the sale in your sales history and open it.
Click exchange label next to the item lines for which you want to print an exchange label.
Note: If you’ve set up your exchange label printer and use printdesk, you can also print all exchange labels from a sale in one click.
To see this option, you need to have a label printer selected in your printer settings. Choose your label printer under the Exchange Label section after printdesk has been installed and is active.
When this is done, you can click on All exchange tags in the sale and print exchange tags for all the items from the sale.
Søgeord: Byttemærke returmærke byttelabel gave return
