It can be accessed through the Inventory section on the left side.
Then click on Promotions tab at the top right corner.
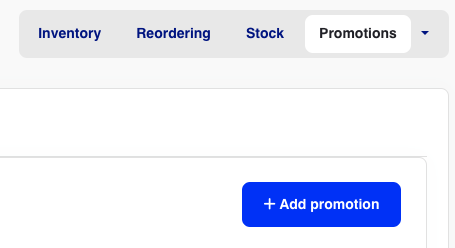
To create a promotion, click on the +Add Promotion button at the top right corner to open the campaign tool.
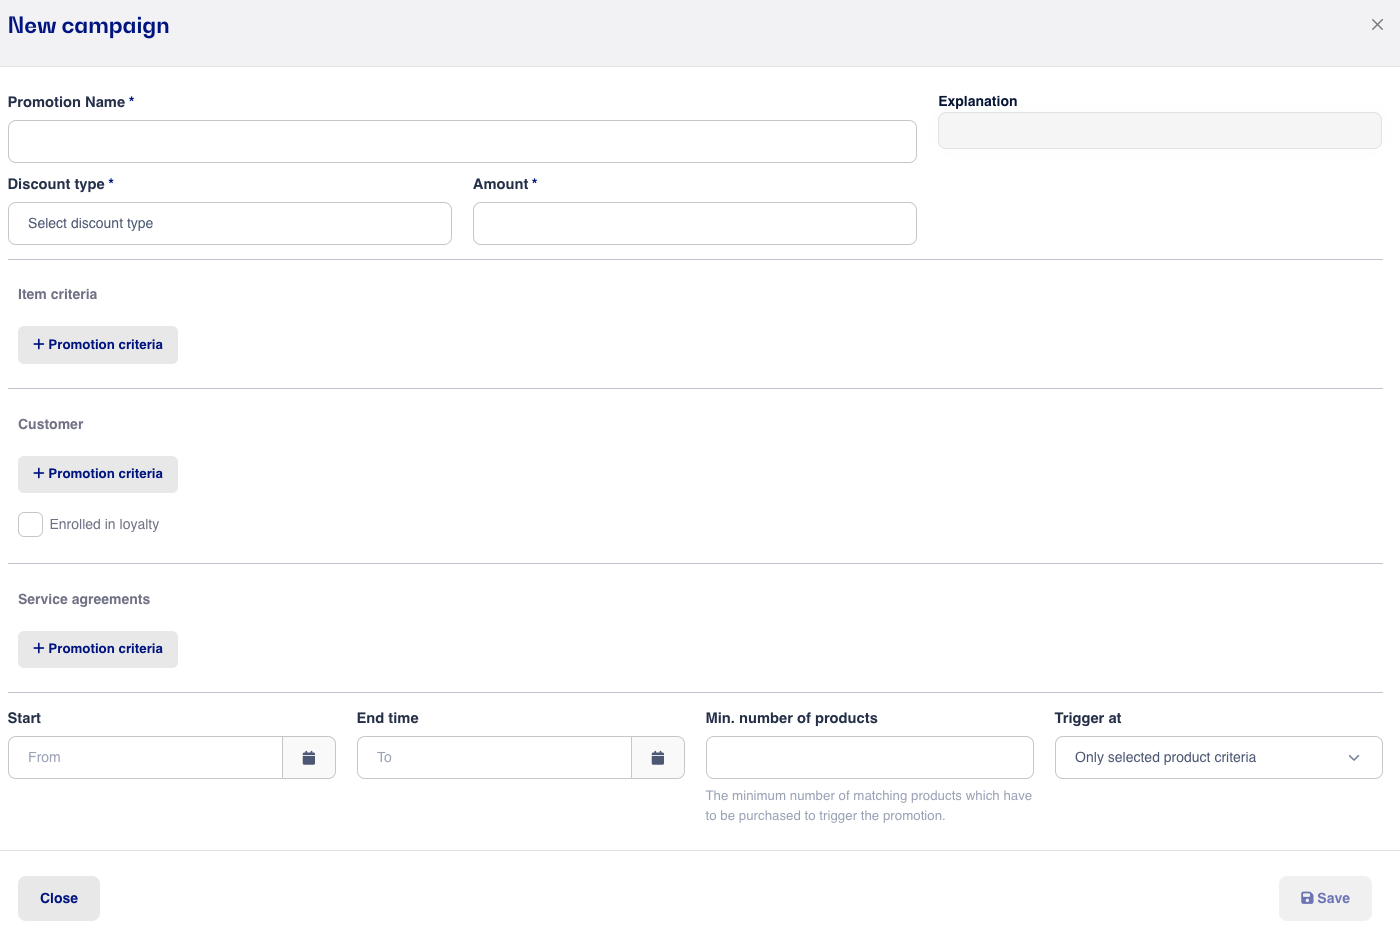
From here, you can define different types of discounts and campaigns and set various criteria for when a given campaign is applicable.
We will take all the information from the top down.
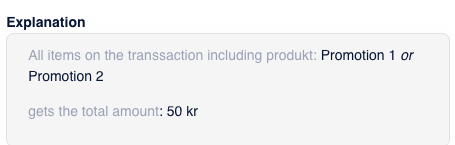
Explanation
You can continuously follow the campaign explanation as you fill out the fields. The explanation is in the right corner in the gray box.
Note whether it says and/or between item criteria. Read more about explanation below under Item criteria.
Campaign Name
The name of the campaign (also displayed on the discount line in the checkout).
Discount Type: the factor from which the discount is calculated.

Here you can choose between:
Specific Item Price - An exactly defined price to which the item is changed.
% Subtracted - The percentage of the item's normal price to be subtracted (specified as 1-100%).
% Added to Cost Price - The percentage to be added to the item's cost price, which is indicated as the sale price of the item (specified as 1-100%).
DKK Subtracted - The amount of discount in kroner to be subtracted from the item's normal sale price.
After selecting the discount type, you need to enter the amount. Here the discount amount or total price is defined and can be entered in DKK or %, depending on the selected discount type.

Once you have chosen the discount type and defined the amount, you need to select the items that the criteria should cover.
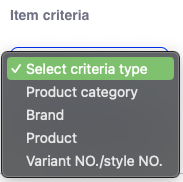
Under Item Criteria, you can choose what should be included in the campaign:
Item Categories - Select one or more item categories. All items that belong to the selected item categories will be included in the campaign. Read more about item categories here.
Brand - Select one or more brands to be included in the campaign. All items that belong to the selected brands will be included in the campaign.
Product - Select one or more products to be included in the campaign. If you want to select multiple products, click the +Product button and add more.
Variant NO./Style NO. - Select products with the same variant no. to be included in the campaign.
Note!
If you add one criterion, the explanation will say or, but if you add multiple criteria, the explanation will change to and. If it says and between your item criteria, items A, B, and C must all be included in the sale for the discount to apply. However, if the explanation says or, either item A, B, or C just needs to be included in the sale for the discount to apply.
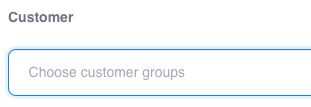
After choosing the above factors, you can decide if the campaign should apply to all customers or a specific customer group. Here you can select from all your created customer groups. Read more about adding customers to customer groups here
Finally, you can set a time limit on the campaign by setting a start and end date. If the campaign should start today and not end on a specific date, just leave the field blank. The campaign is not automatically deleted when it expires but remains inactive under your campaigns so you can always access it again.

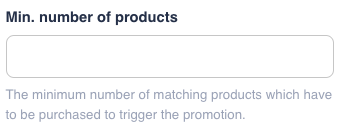
You also have the option to set a minimum number of products sold to trigger the campaign discount.
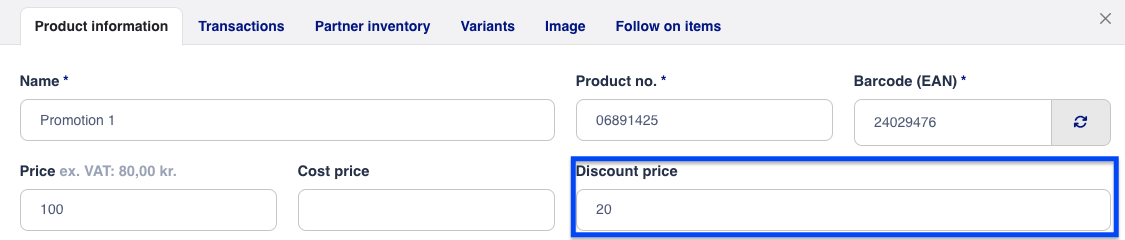
Creating a Campaign by Setting a Discount Price:
When a discount price is added to a product under product information, a campaign is automatically created for that specific item.
If you delete the discount price on the product, the campaign is automatically deleted, and if you delete the campaign under your campaigns, the discount price is also removed from the item. The label Discount price- "Product name" will appear when a campaign is created by adding a Discount price to the product.
When your campaigns are created, you can search the Promotion module by Product Number, Title, Customer Group, or Category. You can also sort by Discount Type and Start/End Date.
